

Version 7.4 and higher
The sessions’ calendars are displayed on the session planning board. Here, client appointments can be planned, changed and registered manually. The session appointment generator also plans on these calendars. As of version 7.6, it is possible to quickly plan employees on sessions from the planning board and to search for specific sessions or appointments. A client picker has been added in version 7.9, which makes it possible to easily plan (multiple) clients on a session.
A session planning board can be defined in the planning board set-up section of the admin module in classic.
Required
- NextGen setting 19: ‘Enable session functionalities’ is set to ‘Yes’
- Classic setting C1002: ‘Enable session functionalities’ is set to ‘Yes’
- User right 22: ‘View session planning’, with at least 1 session planning board in your scope
Layout of the session planning board
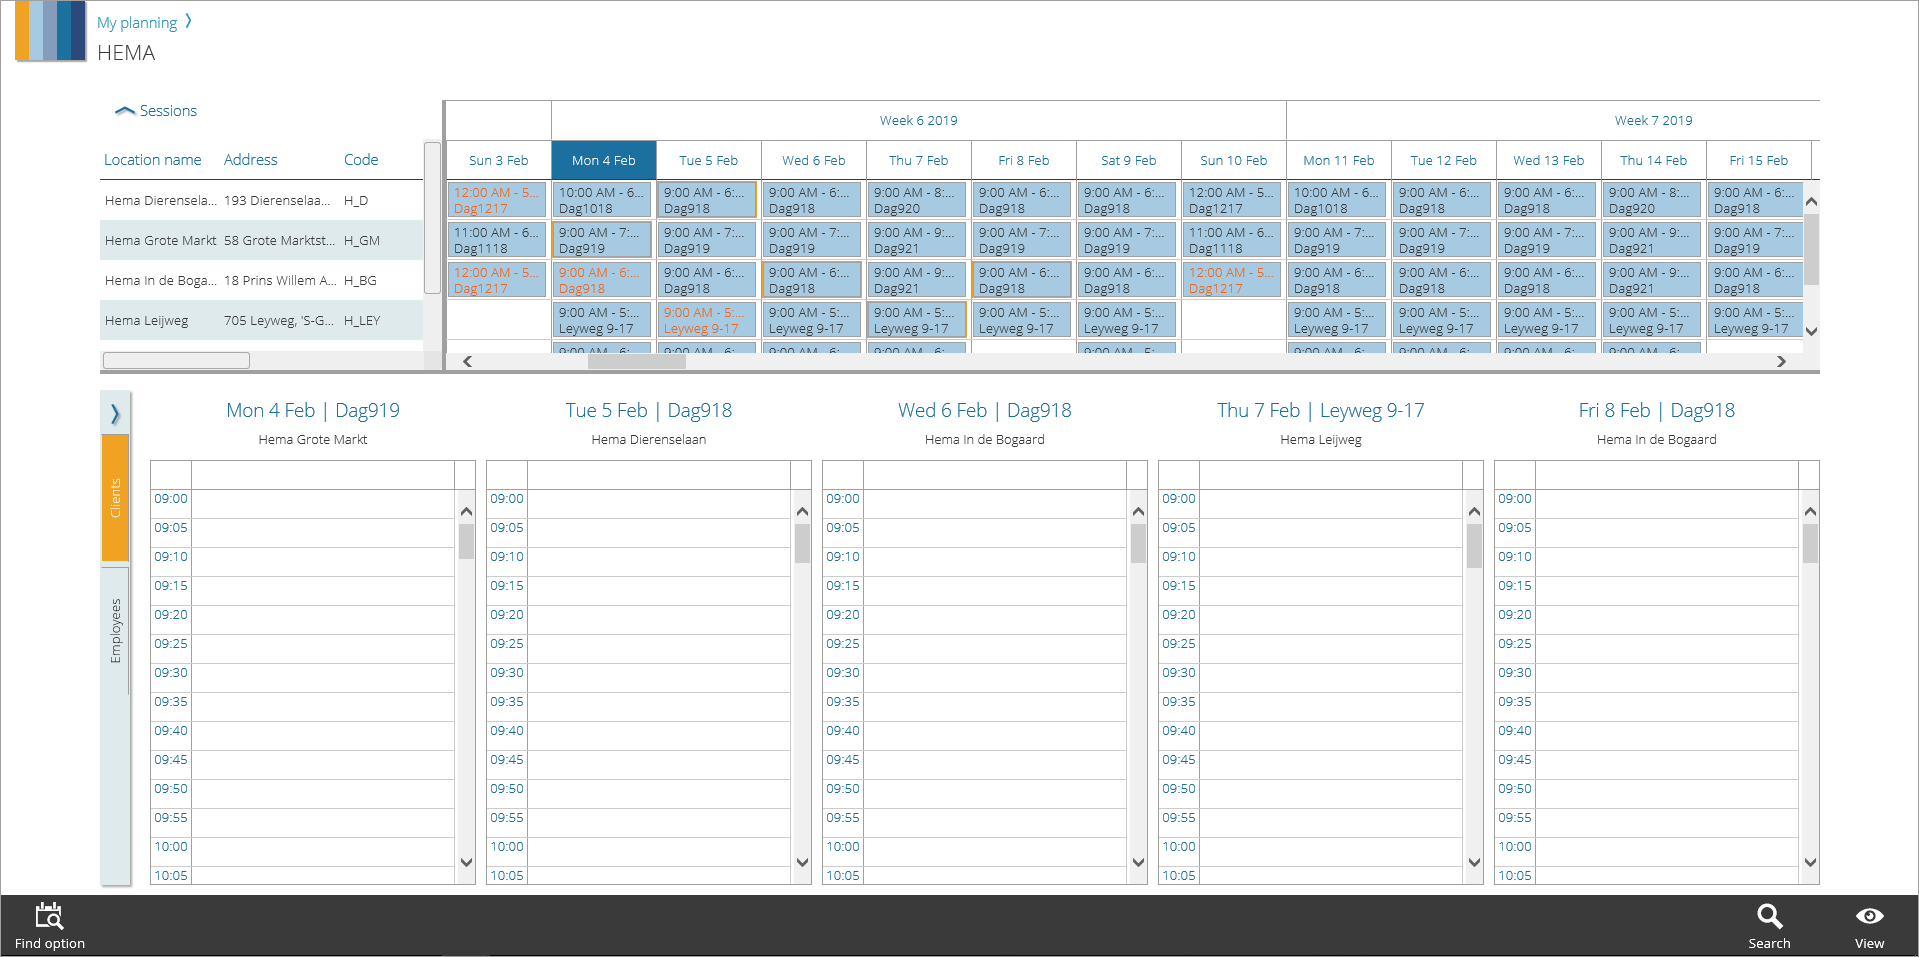
The session planning board is split up in two parts:
- At the top, the session picker
- In the bottom part, the employee- and client pickers on the left and the opened sessions’ calendars on the right.
Session picker
In the session picker at the top, the locations that are configured to be available on this planning board are shown in a table. Each location or sublocation (room) is displayed on a separate line. The intended sessions at these locations are shown on a timeline. The appearance of this timeline can be adjusted to meet your preferences. Click on a session on the time line to open its calendar in the bottom part. Multiple sessions can be opened simultaneously as well.
Sessions that have status ‘Final‘ or ‘Locked‘ are displayed by default in the session picker. Cancelled sessions on which appointments still exist are shown as in the picker well. Cancelled sessions without any appointments aren’t visible on the session planning board, because it isn’t possible to plan on those. With the search function it is possible to filter out sessions with a specific status.
From version 7.9 onwards, it is possible to add a new session directly from the planning board. Click a free (part of a) cell in the session picker and choose ‘Add’ from the action bar. Also new is the possibility to change the properties of multiple sessions simultaneously. Select multiple sessions and choose ‘Edit’.
Display of a session’s validation status
As described in Session errors and validation status, every session has a validation status that indicates if there are any problems with the session. In the session picker, these problems are indicated with a color:
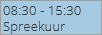 |
Normal appearance. Session without any problems. |
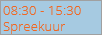 |
Session with a warning. Session with a problem concerning the suitability/availability of the linked resources. Action is recommended. |
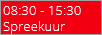 |
Invalid session. Session with a problem concerning the validity of any of the linked resources. Action is required. |
Display of sessions with appointment’s warnings
As described in Appointment errors and validation status, an appointment has a validation status that indicates if there are any problems with the appointment. With the search function, it is possible to check the appointments that are planned on the session planning board on these problems. When issues exist, this is displayed in the session picker:
|
Normal appearance. A session without any appointment issues. |
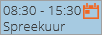 |
Session with at least 1 appointment with a non-blocking warning. Action is recommended. |
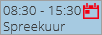 |
Session with at least 1 appointment with a blocking warning. Action is required. |
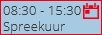 |
Session with at least 1 invalid appointment. Action is required. |
Display of a session’s occupancy rate Vanaf versie 7.9

On the left on the session block in the session picker, a vertical, dark blue bar represents the occupancy rate of the session. The total time that is occupied by appointments is compared with the total time that is available within the session (minus breaks, but including reservations). This way, it is visible at a glance which sessions still have room for additional appointments and which sessions are completely booked already. The occupancy rate is recalculated every time an appointment is added, edite or deleted from the session.
Sessions’ calendars
If sessions are selected in the session picker at the top of the planning board, they are shown in chronological order by date in the bottom part. When more sessions are opened than can be displayed on one page,  and
and  buttons will appear to the left and right of the sessions. Click these buttons to see the previous/next sessions.
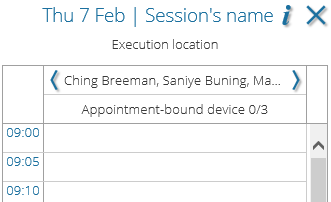
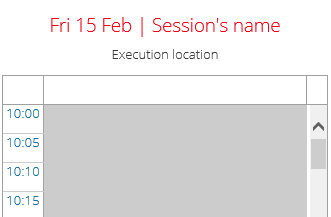
Essential info of a session
The date and the name of the session are shown at the top of each session’s calendar. If the session has a description, an  is also shown next to the name. You can click on it to open the ‘Session info’ page where this description is visible. When the mouse is positioned over the date/name of the session, an
  will appear with which only this specific session can be closed. Below the date and name, the location where the session will take place is shown.
If the opened session has status ‘Locked‘ (version 7.9 and higher), this can be recognized by the  icon in front of the session’s date. It isn’t possible to plan anything additional on such a session.
When employees are planned on the session, they are displayed in the top cell of the session’s calendar grid. In the cell below, the for this session available devices of type ‘Appointment-bound’ are shown. The devices are displayed with [already planned times in the session]/[amount of devices available for this session in total]. If devices are not defined for this session, this cell isn’t available.
If multiple employees/devices are planned on a session, and their names do not fit on one line, you can click on  or
or to view the previous/next names respectively.
Reservations
A session can have one or multiple blocked time slots, which is indicated by markings on the session’s calendar. A distinction is made between breaks, reservations and temporary reservations made by the session appointment generator. The first two are defined when creating a session, the latter is automatically created when someone is planning an appointment with the session appointment generator.
Attention!
A reservation created by the session appointment generator isn’t directly visible in the session’s calendar. Close the session and open it again in the session picker to refresh the reservations.
Unless you’ve additional rights to do so, it’s not possible to plan an appointment over a reservation. For details, see Planning, modifying, or registering a session appointment manually.
Each type of reservation has its own marking:
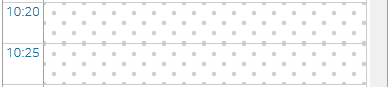 |
Pause |
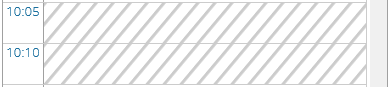 |
Reservation |
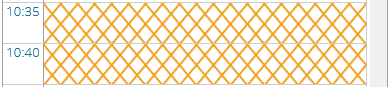 |
Temporary reservation made by the session appointment generator |
Display of a session’s validation status
When there are problems with a certain session (described in Session errors and validation status), this is not only visible in the session picker on the top part, but also at opened sessions at the bottom part.
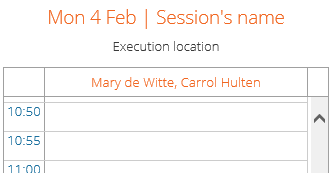 |
Session with a warning. Session with a problem concerning the suitability/availability of the linked resources. Action is recommended. |
 |
Invalid session. Session with a problem concerning the validity of any of the linked resources. Action is required. |
Appointments on a session
On the session’s calendars, logically all the planned appointments are shown. It is also visible if any notifications were generated and whether or not they were successfully sent. From the session’s calendar, it is possible as well to register the appointment. For details, see the Appearance of appointments.
Pickers
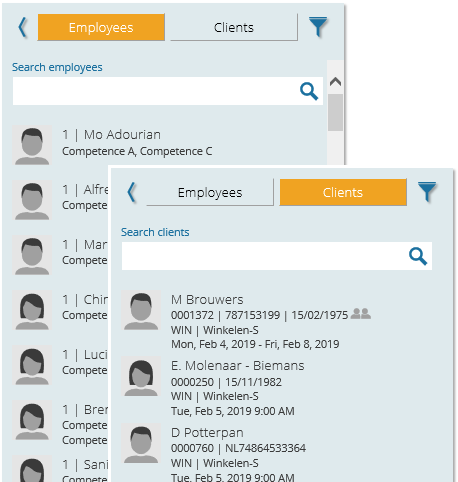
The pickers are displayed at the bottom left of the page. Using the buttons at the top, you can easily switch between the employee- and the client picker.
Employee picker
After selecting one or more sessions in the bottom part (by clicking the top cell of their grids), the employee picker will list all the suitable and available employee-contracts. Drag and drop them onto the selected sessions to plan them, or use the ‘Plan’ button. Also read ‘Planning employees on a session‘ for details about searching and filtering within the employeepicker.
Once a specific employee is planned, his appointments (planned elsewehere) that take place during the session are displayed on the session’s calendar as well, so it’s clear that this employee is partly occupied during this session.
Client pickerversion 7.9
After selecting a free time slot on a session’s calendar in the bottom part, the client picker will list all the client service contracts or orders that can be planned on that session, on that day and on that time. Drag and drop the client onto the selected time slot to plan him/her, or use the ‘Plan’ button. Also read ‘Add appointment using the picker’ to learn more about planning multiple clients at once and for details about searching and filtering.
Actions
Depending on user rights, a number of actions are available on the action bar of the session planning board. Some buttons only appear when an item is selected (contextual actions). In addition, three general actions are available always:
- Find option: Open the session appointment generatorversion 7.9
- Search: Adjust the search filter that currently applies to the session planning board.
- View: Adjust view settings for the current session planning board.
Contextual actions
Selected: a session in the session picker, or an opened session calendar
- Open: View details of the selected session without being able to change it.
- Edit: Edit the session details.
- Unplan: Remove one or all planned employees from the session. This action is only available when at least one employee is planned on the session.

Selected: an empty (part of a) cell in the session picker
- Add: Add a new session.
Selected: a time slot on an opened session calendar
- Add: Add a new appointment.
Selected: an appointment
- Open: View details of the selected appointment without being able to change it.
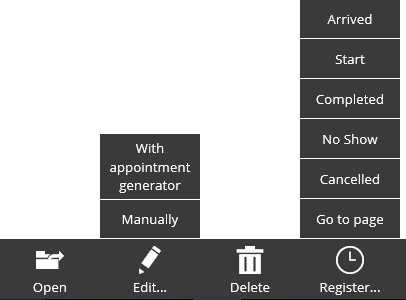
- Edit: Edit the appointment either manually or by using the session appointment generator
- Delete: Delete the appointment from the session. Note that the underlying order (or service contract) still exists and can be planned again.
- Register: Set a registration status by choosing one of the available quick options or register in more detail using the registration page.
Tip
The fixed possibilities in the registration menu can be extended with options that represent the status ‘Failed’ + a ‘failed reason’ of choice. Please contact your helpLine account manager to configure this for you.
Selected: registration
- Open: View details of the selected registration without being able to change it.
- Edit: Edit the registration details
- Delete: Delete the registration. The appointment will now return to its ‘not-registered’ state again.
- Repeat: Plan a new, additional appointment based on the same order-moment that was used for the selected, failed appointment.Version 7.7
Attention!
The action ‘Repeat’ is only available in specific situations. It is meant to allow the creation of an extra appointment in case the original appointment wasn’t successfull. More exact: when it wasn’t successfull for a particlar reason. For example: when the appointment failed because the client didn’t show up.
The ‘Repeat’ button appears when the selected appointment has been registered with status ‘Failed‘ AND the chosen failed reason exists in the collection of failed reasons that was configured in setting 43.

Selected: employees/clients in the picker AND sessions in the bottom part
- Plan: As an alternative for drag and drop, plan the selected employees/clients on the selected sessions with the ‘Plan’ button.
Contextual right-click actions
Right-click on an appointment/registration
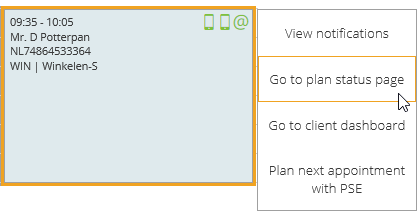 View notifications: Open the ‘Pending and sent messages‘ overview in a new browser tab. The overview automatically shows just the notifications related to the selected appointment.
- Go to plan status page: Open the plan status page of the selected client in a new browser tab.
- Go to client dashboard: Open the dashboard of the selected client in a new browser tab.
- Plan next appointment with PSE: Open the session appointment generator, where the next not-planned-yet order-moment of the client is already selected.
Right-click an employee/client in the picker
- Select all: Select all resources in de picker
- Deselect all: Undo all selections in the picker
- Open employee calendar: Open the calendar of the selected employee in a new browser tab.
Right-click a planned employee on a session
- Open employee calendar: Open the calendar of the selected employee in a new browser tab.Version 7.9
Changing the view
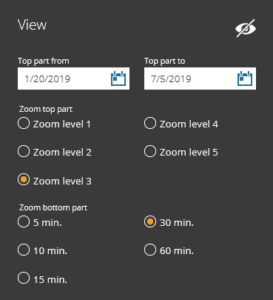
Click on ‘View’ to open the view panel with a number of display settings for the planning board.
Here you can set the time period and the zoom level for the top part. You can also set the amount of time represented by a timeslot on the bottom part.
Search function
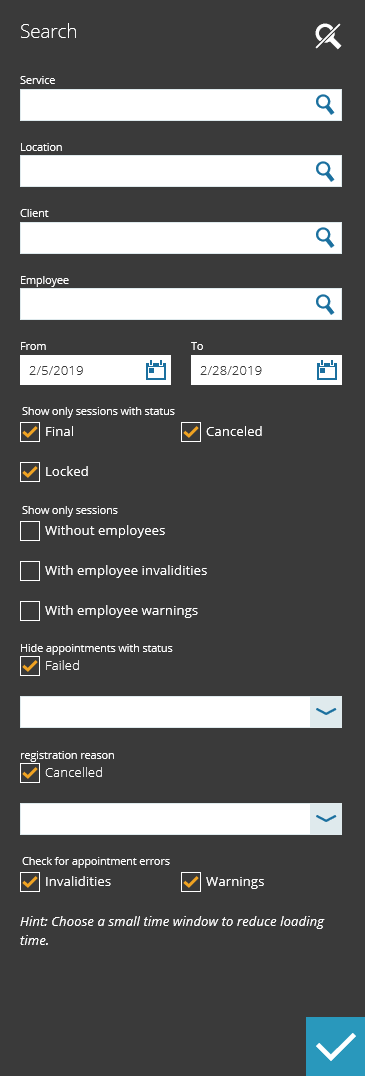
The search function can be used to search for specific sessions or appointments. Click on ‘Search‘ at the bottom right to open the search panel.
Search by session- or appointment properties
You can search for sessions in which certain services are delivered, on specific locations and with a particular status. It is also possible to look for appointments with a specific client.
Appointments with a certain status can be hidden from the sessions’ calendars in the bottom part. For example, it may be useful to hide all appointments that have been registered as ‘Cancelled’, because those time slots may be used for other appointments.
Check for appointment error messages
Appointments are checked for problems during creation and modification. Any problem that might exist is visible in an opened session on the bottom part. However, these problems are not shown in the session picker at the top by default. This is something that has to be ‘turned on’ explicitely in the search panel. Please tick ‘Invalidities‘ and/or ‘Warnings‘. After clicking  , the session picker will mark the sessions on which appointments with problems exist.