

Version 7.4 and higher
Notifications are based on templates. The template contains the content of the message. The template can contain variables and conditions which will be turned into personal content when the actual message is generated. This way, a message can contain information which is both personal to a specific client and adapted to a specific order or appointment of his. There are separate templates for text messages, emails and letters.
A template is not created within Serviceware. A simple program like Notepad can be used for this. The templates can then be uploaded to the application, where they can be linked to specific scenarios and services.
Managing templates
Templates can be managed in the templates overview, which is part of the Notifications section.
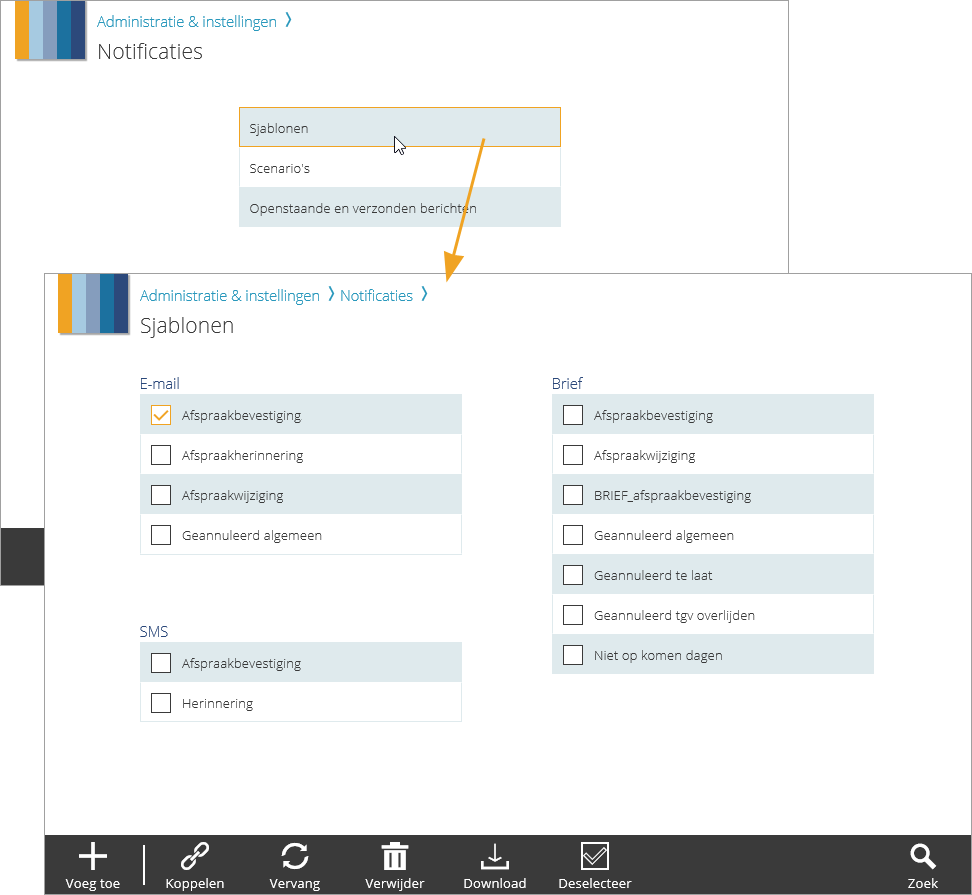
It depends on the items that are selected in the templates overview which actions are available on the action bar.
Adding templates
Click on ‘Add’ on the action bar to upload one or multiple templates and add them to the collection of templates in Serviceware. The uploaded templates will be added to the right column (email, letter, text message) based on their file extension.
Attention!
It is only possible to upload templates which have the file extension .html.cshtml, .letter.cshtml or .sms.cshtml. Note that it is also necessary for each template to have its own unique file name.
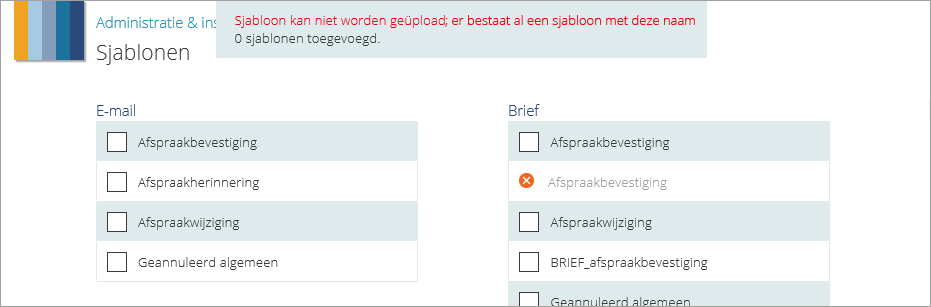
If the upload was not successful, a message will be shown at the top of the window, and the file that was not uploaded properly will be shown with an  icon in the list. The template does not need to be removed manually, it will disappear automatically when the page is refreshed.
Linking a template to a service
Select a template and click on ‘Link’ on the action bar to link the template to a service and a specific scenario.
Replacing a template
If a template is already linked to one or more services, it can be replaced with another template with the ‘Replace’ action. The template will then be replaced for all services that the template is linked to. Note that this is not the case when a linked template is deleted and a new template is uploaded.
Attention!
When a template is replaced, the file extension of the new template should be the same as the extension of the old file. The file name can be different though. For example: ‘Appointment_confirmation_version1.html.cshtml’ can be replaced with ‘Appointment_confirmation_version2.html.cshtml’.
Deleting templates
Click on ‘Delete’ on the action bar to delete one or more templates. A pop-up window will be shown to ask for confirmation. Confirm by pressing  and the selected templates will be deleted from the whole application, also from the services that they were linked to.
Downloading a template
Click on ‘Download’ to download a template. It is only possible to download one template at a time.
Previewing a template Version 7.10
After selecting a single template of the type ‘letter’, it is possible to preview a sample of the result via the ‘View’ button. Based on the selected template, a PDF is generated with so-called ‘dummy-data’. This way you can check if the template will result in the letter that is desired.
Attention
When printing from the browser (the manual method described in Pending and sent messages), the final result may look slightly different than in the preview. This is because each browser interprets the template code slightly different.
Deselecting templates
When multiple templates are selected, they can all be deselected by clicking the ‘Deselect all’ action.
Searching
Click ‘Search’ in the bottom right corner to open the search panel. Here you can search for specific templates by entering (a part of) a template name in the search field.